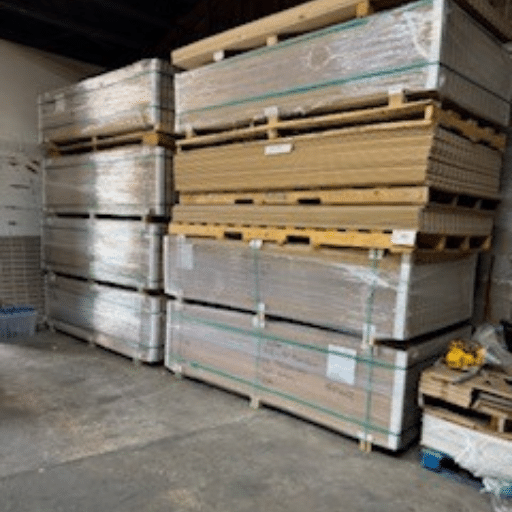
Have you ever wondered how a well-planned slatwall panel installation can transform a cluttered area into a clean, usable space?
We bring 48+ years of hands-on experience serving homes and businesses across Alabama and Mississippi. Founded in 1977, our team offers USA-made mdf wall panels, honest pricing, and local support by phone or email.
Our guide helps you plan material needs, measure walls, and stage tools so the process flows from first piece to last. A standard 4×8 sheet covers 32 square feet and weighs about 85 pounds, so plan for a helper and order 10% extra for cuts and waste.
We explain how layout and fastening choices affect long-term performance, safety, and usable space. For quotes or quick answers, call (205) 567-1627 or email almsswdepot@outlook.com. Visit us at 6808 Oporto Madrid Boulevard, Birmingham, Alabama.
Key Takeaways
- We offer local expertise and USA-made MDF products for residential and retail projects.
- Plan for helper(s) and order 10% extra material to avoid delays.
- Proper layout and fastening improve safety and long-term use of your wall system.
- We provide clear guidance on measuring, material selection, and staging tools.
- Contact our Alabama and Mississippi team for quotes, scheduling, or design advice.
Plan Your Project: Site Selection, Codes, and Accurate Measurements
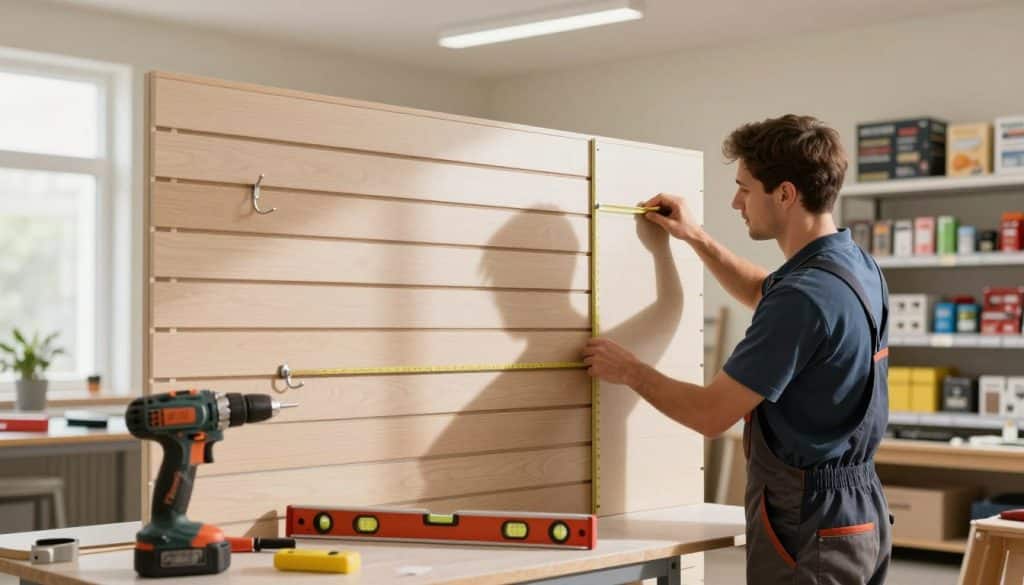
Start your project by choosing a wall that offers solid backing and easy access for daily use. We serve Alabama and Mississippi and provide clear guidance on permits, measurement, and planning from our 48+ years of experience.
Choose the right wall
Verify load-bearing capacity by locating studs and assessing masonry or framed surfaces. Check humidity and temperature near exterior walls or garages; these conditions affect material choice and fastener method.
Permits and safety
Confirm local permit needs and building codes before you begin. Make sure electrical, lighting, and ventilation are planned so you avoid costly rework later.
Wall prep and measuring
- Snap a level line with a laser or chalk to keep courses straight from floor to ceiling.
- Measure length x height (in feet) to get total area, then divide by 32 to estimate panels; round up and add 10% for waste.
- Identify outlets, windows, and corners early and place seams to stagger over studs for strength.
Allocate time to stage material, sort fasteners, and verify tools before you start. For site reviews and product recommendations, contact us at (205) 567-1627 or almsswdepot@outlook.com
Tools, Fasteners, and Materials You’ll Need for a Smooth Installation
Before you cut or fasten, confirm your tools and fasteners match the wall and material. Matching hardware to the surface reduces rework and protects finished faces. We supply USA-made products and can help match fasteners to your site—call (205) 567-1627 for a checklist.
Required tools and safety gear
- Drill or screw gun with bits, tape measure, 24″ level, ladder, and stud finder.
- Circular saw for straight cuts and jigsaw for outlet notches; use painter’s tape to protect finished faces.
- Safety glasses, gloves, and a dust-management plan such as a vacuum attachment.
Fasteners by wall type
- MDF studs: coarse-thread drywall screws, 2–3″ long; drive through grooves, not the face.
- Metal studs: self-tapping drywall screws sized to your studs; verify grip with a test screw.
- Masonry: build a mdf furring frame or studs per code, then fasten wall panels to that frame for reliable holding power.
Prepare the surface so it is clean, sound, and dry. Test-fit a few screws to ensure heads sit in the groove profile and avoid chipping. For heavy panels, plan two-person lifts and stage material to reduce handling and scratches.
Pro tip: keep extra screws, anchors, and a small trim kit on hand to maintain pace. Call us for tailored recommendations across Alabama and Mississippi at (205) 567-1627.
Slatwall Panel Installation: Step-by-Step Guide from Layout to Mounting
A clear layout and steady baseline make the rest of the work fast and predictable.
Begin by locating studs and marking their centers across the wall on the groove lines. Snap a level baseline and install a straight ledger board if you are not starting at the floor. Stagger vertical seams so each panel end lands over a stud to prevent edge lift.
Fastening and spacing
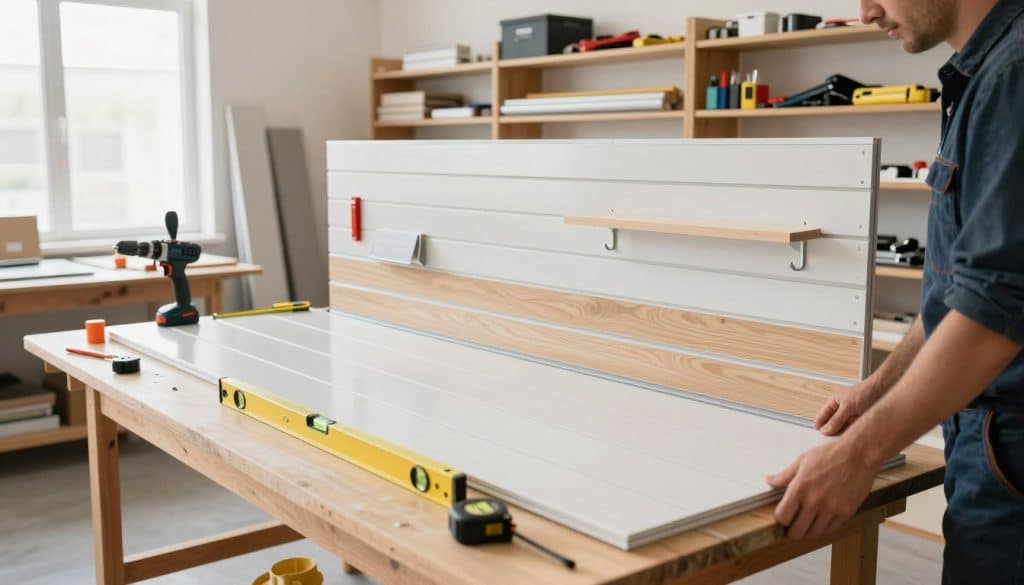
Fasten through the grooves into studs, spacing screws 12–16 inches vertically. Check level every few courses to keep lines true. For panels with aluminum inserts, predrill the insert and drive #6+ pan head screws; add an extra insert where two panels meet.
Three mounting methods
- Method A — Adhesive: On a clean, flat wall apply continuous adhesive beads to the back panel. Press firmly and brace while the adhesive cures for a smooth finish.
- Method B — Screw & plug: For masonry or high-traffic areas, predrill, insert plugs flush, then fasten mechanically for durable holds.
- Method C — Batten frame: Build a level, plumb grid to reinforce weak walls or conceal wiring before attaching wall panels.
When stacking courses, insert an additional aluminum piece in the shared groove before fitting the upper course. Keep consistent gaps at corners and terminations for trim and a professional look. If you need on-site advice in Alabama or Mississippi, call us at (205) 567-1627.
Cutting, Trims, and Finishing Techniques for a Professional Look
Clean, precise cuts and smart trim choices are what give a finished wall its professional look. Use a circular saw with a 60–80 tooth blade for straight cuts and cut face down to protect the mdf finish. Set blade depth to about 1 inch past the face and control feed rate to reduce tear-out.
For curves or outlet notches, switch to a jigsaw with a medium mdf blade (~10 TPI). Tape the saw shoe and drill starter holes in corners to keep edges neat. Verify cut lines twice and dry-fit each piece to confirm size before fastening.
Working with aluminum inserts and trim
Predrill aluminum at screw points to prevent distortion and never remove inserts—they add strength to joins between panels. Use 3/4-inch angle or U-shaped trims in mdf or aluminum for exposed edges. Pre-drill aluminum and fasten with small screws; use quarter-round at inside and outside corners for a polished finish.
- Press colored groove inserts after fastening to hide screws and unify the surface.
- Apply adhesive sparingly to stabilize narrow returns without marring the finish.
- Touch up edges, wipe down surfaces, and inspect all joints before merchandising or use.
We deliver trims and accessories alongside wall panels for Alabama and Mississippi projects — call (205) 567-1627 for matched edge options, corner solutions, and groove inserts.
Load-Bearing, Customization, and Long-Term Performance
Plan load zones early so heavy storage sits where the structure can carry it. Space heavy items low and over studs to keep loads safe and predictable. Lighter gear and displays belong higher in the room.
Offset joints between rows and make sure seams land on studs or reinforced battens. Consistent screw spacing—about every 12–16 inches vertically—keeps wall panels stable when hooks move or loads change.
Practical steps for a durable design
- Map your space by use: heavy tools and dense inventory belong low; display items live up high.
- Keep seams supported to avoid bulges or sag over time.
- Standardize hardware spacing for predictable performance and faster tweaks later.
- Reserve room around doors, outlets, and corners for future expansion.
- Choose accessories rated for the expected load and match the slat profile and size.
We help Alabama and Mississippi customers zone loads, select accessories, and plan expansions. Call (205) 567-1627 for hardware spacing and layout recommendations tailored to your room and project.
Why Install with Alabama Mississippi Slatwall Depot
Choose a trusted local partner to ensure your mdf wall project finishes on time and on budget.
Since 1977 we’ve supplied USA-made mdf panels and accessories across Alabama and Mississippi. We combine honest pricing with fast, damage-free delivery to your place or job area.
USA-made panels, honest pricing, and damage-free delivery across Alabama and Mississippi
We supply mdf wall panels and matched trims sized to your scope. Order an extra 10% in panels to cover cuts and waste. A standard 4×8 weighs about 85 pounds—plan for safe handling and delivery.
Contact us
Call: (205) 567-1627 • Email: almsswdepot@outlook.com • Visit: 6808 Oporto Madrid Boulevard, Birmingham, Alabama
- We tailor mdf finishes and mdf slat wall options for homes and retail areas.
- Make sure orders include trims, groove inserts, and hardware—we right-size every package.
- Our delivery network protects materials so wall panels arrive ready to place and secure through the grooves, not the face.
- We provide site-specific guidance, estimates, and support from first call to final walkthrough.
Conclusion
A successful finish starts with a few final checks: keep courses level, confirm stud engagement, and tidy edges for a clean look.
Begin with a verified baseline and mark studs so every screw into the groove meets solid mdf every 12–16 inches. For flat, sound surfaces use adhesive selectively; choose screws and plugs or a batten frame for high-traffic or uneven walls.
Use a circular saw with a 60–80 tooth blade for straight cuts and a jigsaw for outlets. Fit trims and groove inserts last to hide fasteners and protect edges.
Ready to start? We’re local and ready to help. Call (205) 567-1627, email almsswdepot@outlook.com, or visit 6808 Oporto Madrid Boulevard, Birmingham, Alabama for USA-made mdf slat wall products, fair pricing, and damage-free delivery across Alabama and Mississippi.