Ever wondered how to install slatwall panels so storage walls look flawless instead of showing gaps and misaligned seams? We challenge that common result with a clear sequence you can trust. Our approach makes the system predictable and repeatable for garage and retail walls.
We explain layout, fastening through the grooves into studs, and why the first panel sets the line for the rest. We also note that a ledger board helps when starting above the floor.
Alabama Mississippi Slatwall Depot has served Alabama and Mississippi since 1977 from 6808 Oporto Madrid Boulevard, Birmingham, Alabama. We offer USA-made products, fair pricing, and fast, damage-free delivery. Contact us at (205) 567-1627 or almsswdepot@outlook.com for expert help.
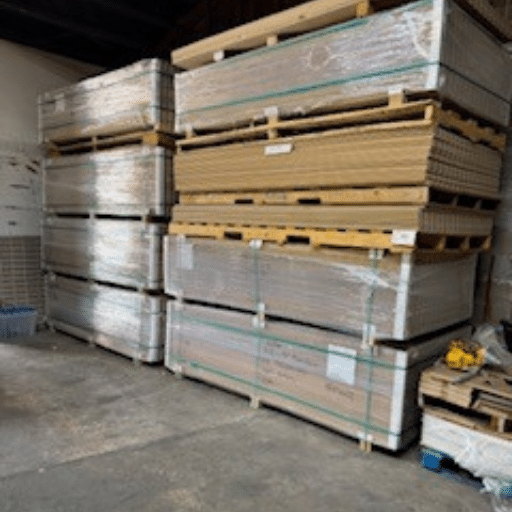
Expect clear guidance on material math, safe handling of heavy 4×8 sheets, and which tools save time. We explain when a DIY route works and when our team can support delivery or referrals across both states.
Key Takeaways
- Fasten through grooves into studs for a secure, accessory-ready wall.
- Order at least 10% extra material for cuts and waste.
- Use a ledger board when starting above floor level to keep the line straight.
- Plan handling and staging to save time and avoid damage.
- Contact Alabama Mississippi Slatwall Depot for USA-made materials and local support.
Start Here: What Slatwall Is, Where It Works, and Why It’s a Smart Upgrade
Begin by understanding the grooved panel system and where it best serves retail and residential spaces. Since 1977, we’ve helped business owners and homeowners across Alabama and Mississippi choose the right USA‑made solutions with clear guidance and fair pricing.
What it is: A grooved wall system that converts a flat surface into a modular storage and merchandising surface. Grooves accept hooks, shelves, baskets, and many accessories for quick reconfiguration.
Where it works best: High‑traffic retail walls, service bays, showrooms, fitting rooms, and the garage. Select materials based on moisture resistance, load needs, and cleaning requirements.
- Mount over finished wall materials or directly to studs when local code permits for full strength.
- Move storage vertical to open floor space, improve sightlines, and streamline design.
- Plan end uses—traffic, loads, and accessory mix—so the final system meets daily needs.
Our local support: We offer fast advice, delivery, and accessory fit checks across Alabama and Mississippi to help you choose the right materials and reach planned outcomes.
Tools, Materials, and Prep You Need Before You Install
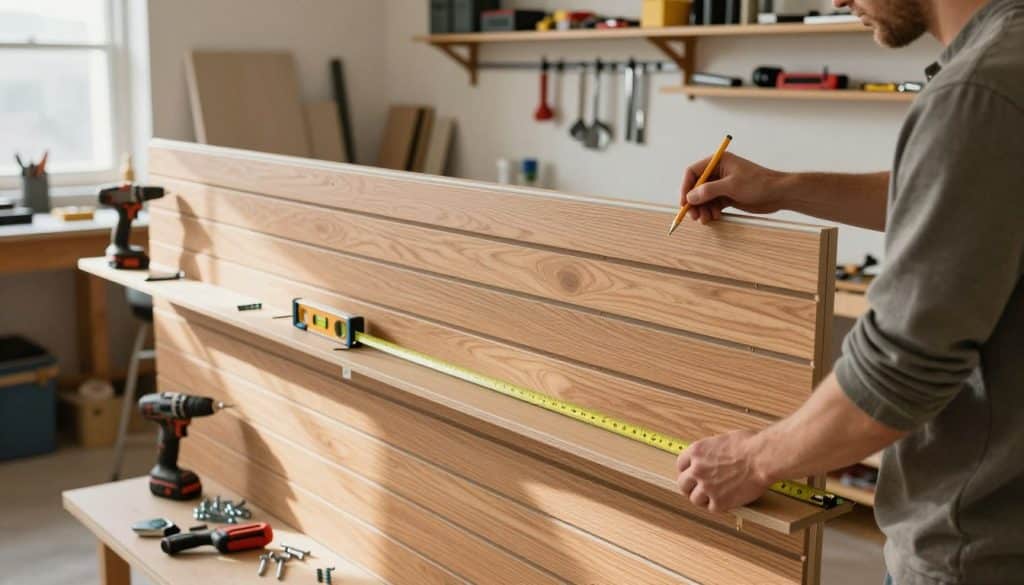
Gathering the right gear and measuring the wall carefully saves time and prevents common mistakes. We recommend confirming your layout and staging all parts before lifting the first piece.
Essential items for day one
Must‑have tools: a drill/screw gun, a 24″+ level, stud finder, tape measure, ladder, pencil, and the correct screws for your condition. Add safety gear—glasses and gloves—every time.
Optional time‑savers and finish tools
Extras that speed the job: circular saw, jigsaw with mdf blades, drill bits, painter’s tape, and panel adhesive when a permanent bond is desired. Trim pieces and a hacksaw tidy edges.
Know your wall and fasteners
Identify MDF, metal, or masonry framing early. For mdf studs use coarse‑thread drywall screws 2″–3″. For metal studs choose self‑tapping drywall screws. Masonry should receive furring strips or framing per code.
- Set a bottom ledger at the planned height and confirm level before the first row.
- Measure, mark stud lines, plan seam locations, and pre‑stage cuts for a neat end run.
- Inspect panel edges at the back for transit dings and call (205) 567-1627 for replacement help in Alabama or Mississippi.
How to install slatwall panels
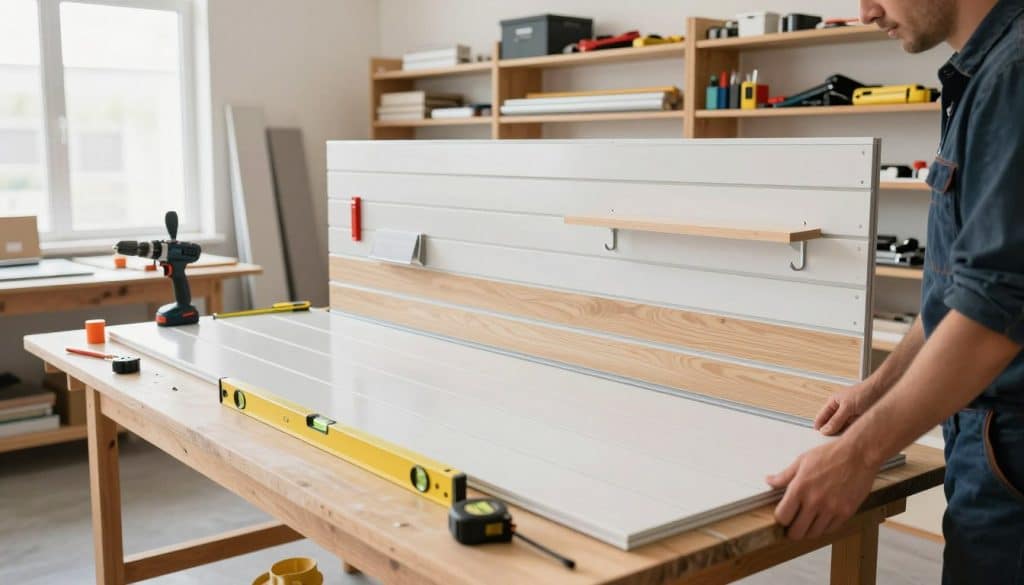
A precise starting course sets the tone—get that bottom ledger level and the rest falls into place. We place a temporary ledger at the planned height, confirm it is level, then mount the first panel flat against it as our control line.
Fastening basics and framing types
Drive screws through the grooves into each stud roughly every 12–16 inches for solid pull‑out strength. For mdf framing use 2″–3″ coarse‑thread drywall screws.
For metal framing center self‑tapping screws on the stud line so the fastener bites cleanly. On masonry add furring or mdf framing first, then fasten panels as if to mdf studs.
Aluminum inserts and adhesive assist
Panels with aluminum inserts need predrilled holes. Use a bit slightly larger than the screw threads, keep the insert in place, and use pan head screws sized for the slot. Add a joint insert where two meet at the end for a solid seam.
For extra rigidity, apply a continuous bead of panel adhesive on the back before fastening. For reversible work, rely on mechanical fasteners only and verify alignment after each piece.
- Check level after each panel and verify groove alignment at seams.
- Keep screw heads flush in grooves to avoid accessory interference.
- Finish each run with consistent spacing, clean reveals, and neat alignment around openings.
We believe in transparency and honesty—this step‑by‑step approach reflects best practices we’ve refined over 48 years. Call or email for local support across Alabama and Mississippi.
Cutting Panels and Making Precise Openings
Precision at the cutting stage prevents rework and keeps accessory layouts true across the wall. We focus on simple steps that yield clean edges and reliable accessory fit.
Straight cuts with a circular blade
For chip‑free saw cut results use a circular saw with a 60–80 tooth blade. Set depth to about 1″ and cut face down along a clamped straight edge.
Use a sharp bit for starter scoring if needed. Protect the finished face with light tape on your cut line and clamp a guide for repeatable accuracy.
Jigsaw cutouts for outlets and switches
Mark openings, then drill two 1/2″ starter holes at opposite inside corners. Fit a medium mdf blade (~10 TPI) in the jigsaw and follow the line slowly for clean interior corners.
Add a 3/4″ box extender and longer machine screws for code‑compliant device placement. Painter’s tape on the saw shoe helps prevent scuffs while you work.
Finishing details for a professional finish
Trim edges with mdf or aluminum corner pieces and pull colored groove inserts through with needle‑nose pliers. Cut inserts with scissors and press them flush for a neat look.
- Quick checklist: sharp blades, light tape protection, drilled starter holes, and trim ready.
- Final cleanup and touch‑up keep each panel wall consistent and accessory‑ready.
For product availability and delivery timing in Alabama and Mississippi, call (205) 567-1627.
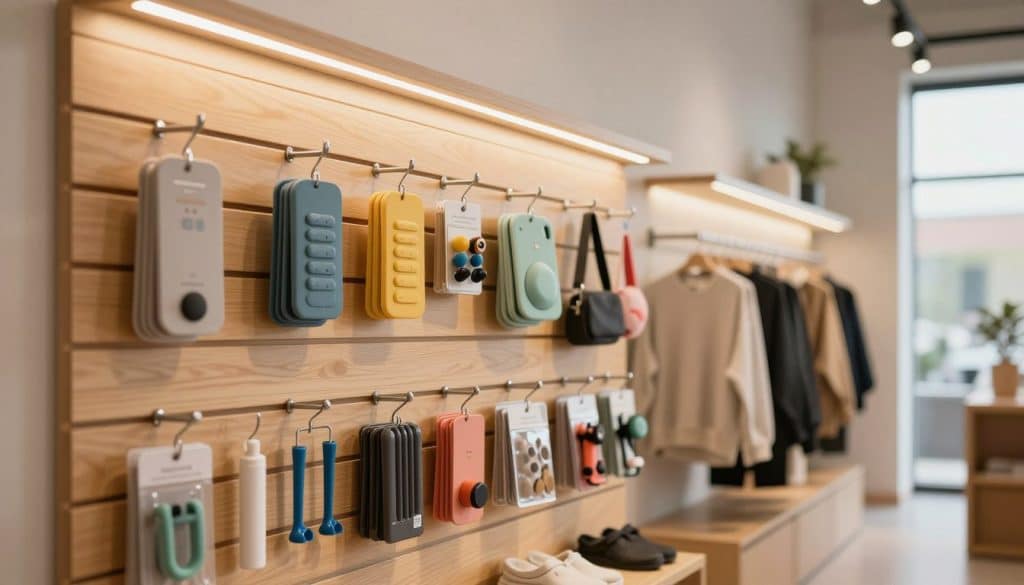
Design, Accessories, and Real‑World Use in Stores and Garages
A thoughtful layout keeps tools, gear, and merchandise reachable while maximizing floor space. Good design begins with material choice and ends with matched accessories that fit daily routines in a store or garage.
MDF vs. laminated PVC: MDF offers a warm look and lower cost. Laminated PVC gives superior moisture resistance, impact durability, and consistent color. For wet or heavy‑use garage bays we favor PVC for long life.
Accessories and zoning
Hooks, shelves, baskets, and specialty holders expand the system and reclaim space. Zone by activity—sports, tools, seasonal storage—so items live where they belong.
- Use heavy hooks for tools and lighter hooks for small gear.
- Place shelves at reach height for frequent items.
- Reserve baskets for loose parts and seasonal gear.
Seams and layout choices
A staggered “brick” seam pattern hides joints and keeps the wall visually calm. Choose horizontal runs for long product displays and vertical runs where you want a focal line.
Finishing touches: Add edge trim, matched inserts, and regular cleaning for a high‑end look. We proudly serve retail and residential customers across Alabama and Mississippi with USA‑made solutions, fast delivery, and fair pricing. Contact Alabama Mississippi Slatwall Depot for product advice and delivery timing that fits your project.
Conclusion
Finish strong by checking alignment, fasteners, and edge trim before the wall sees daily use.
Verify studs, mark wall studs, and confirm the bottom ledger is level so the next rows stay straight. Use the right screw for your stud type and space fasteners about 12–16 inches for solid hold.
Cut remaining edges with a circular saw face down and use a jigsaw with drilled starter holes for openings. Protect faces with tape and stage trim and groove inserts for a clean finish.
Taking a little extra time on layout, holes, and height planning rewards you with durable alignment and a polished end result. Call Alabama Mississippi Slatwall Depot at (205) 567-1627 or email almsswdepot@outlook.com for quotes and local support from our Birmingham team.